Chicken tenders are the most versatile main dish you can fix in your kitchen and they are incredibly easy to make. Learn how to make this chicken tenders recipe for budget-friendly cooking that’s perfect for meal prep, simple enough for a weeknight dinner, yet flavorful enough to serve to company.
Post includes Weight Watchers points.
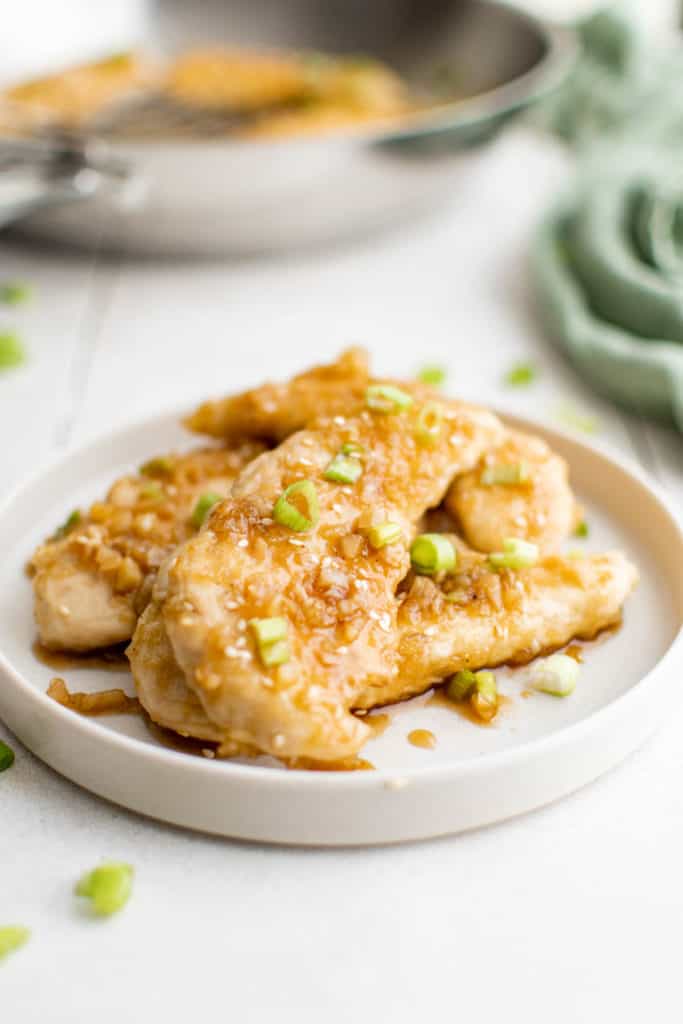
Table of Contents
Easy Chicken Tenders
If your family is busy, if your family is on a budget, if your family loves easy meals that taste great, then you need to know how to make chicken tenderloins.
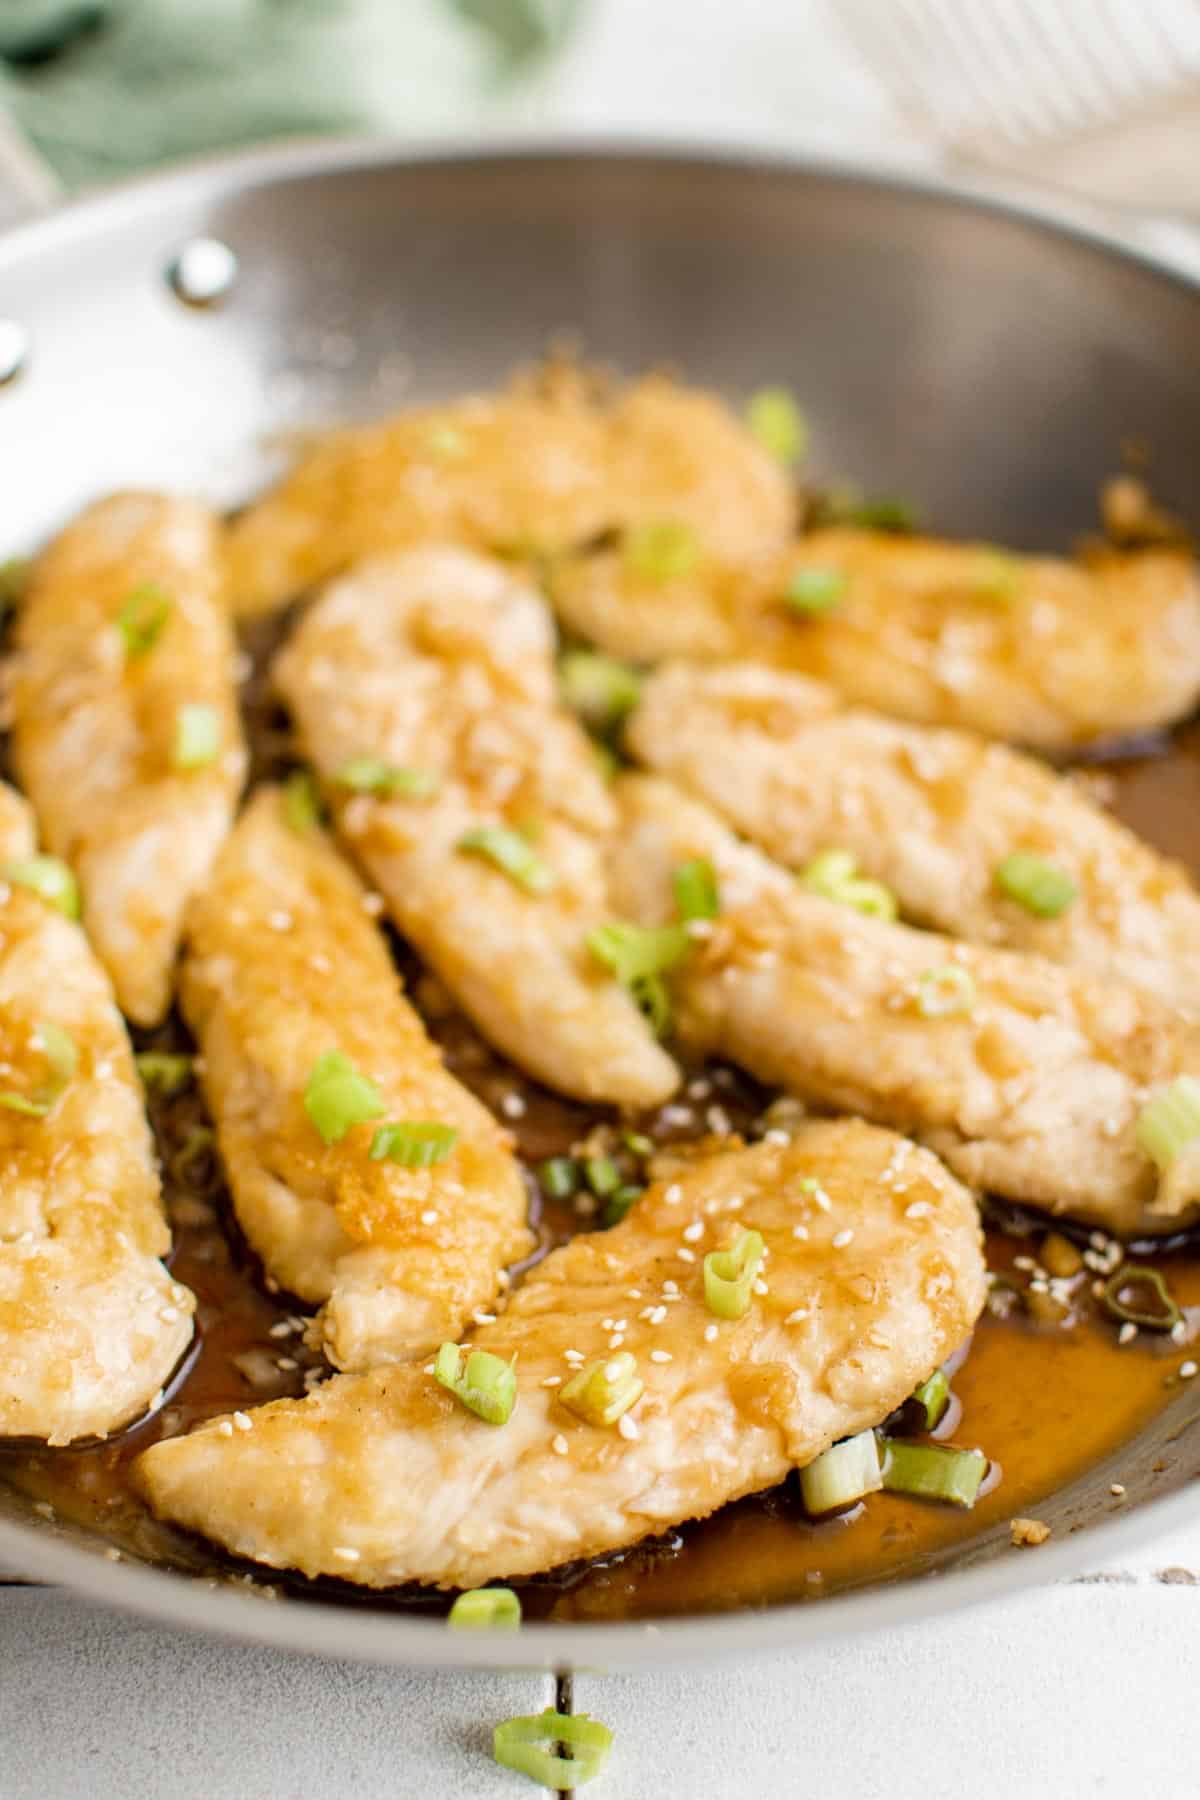
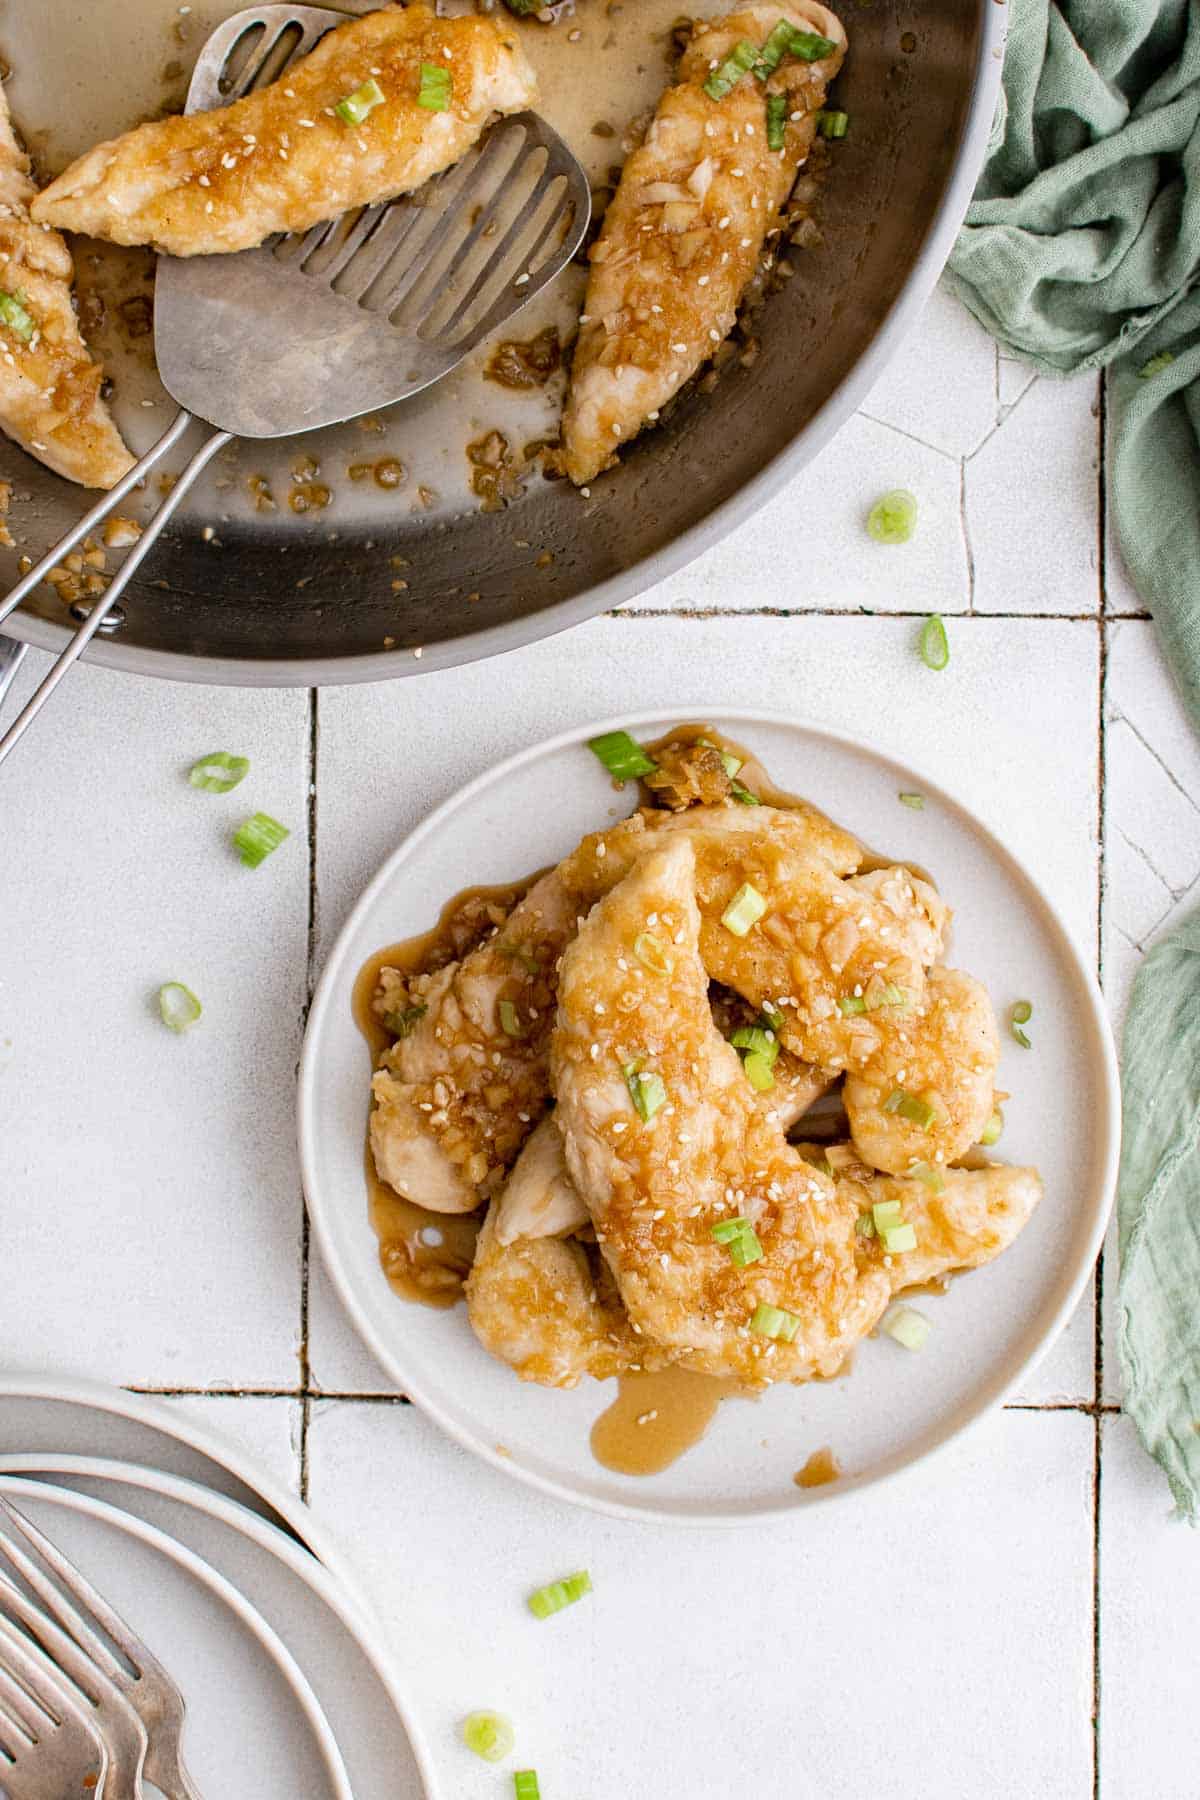
Family favorite chicken strips are pan-seared to perfection then coated in delicious honey, garlic, and soy sauce. Plus, you can cook them in about 15 minutes with just a few ingredients that you already have in your pantry. It really doesn’t get easier than this chicken tenders recipe.
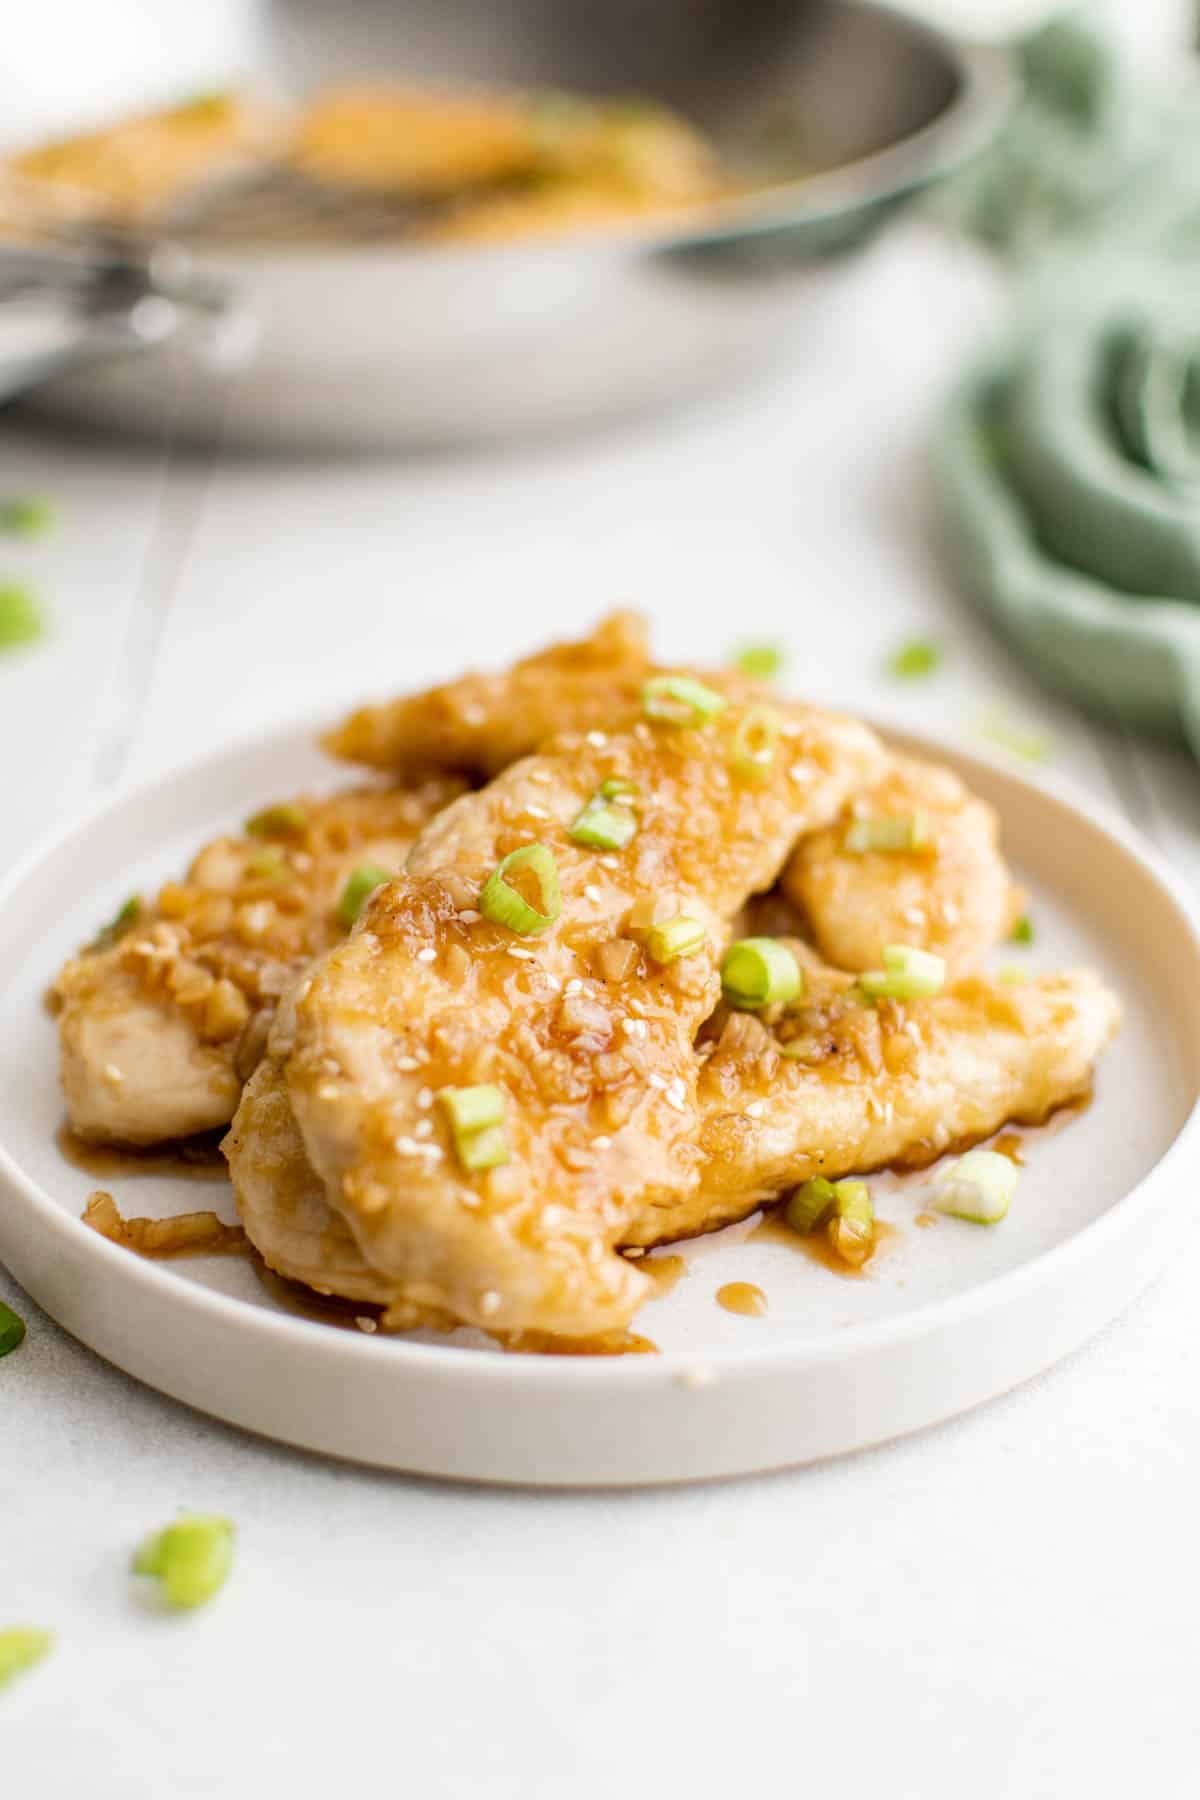
Even better, like my Lemon Oregano Grilled Chicken Tenders, and super easy Instant Pot Chicken Tenders, this budget-friendly dish is perfect for meal prepping, so you can offer chicken breast tenders as a healthy snack or lunch all week long. Serve it with pasta, rice, mashed potatoes, on a sandwich or salad; the possibilities are endless.
What Are Chicken Tenders?
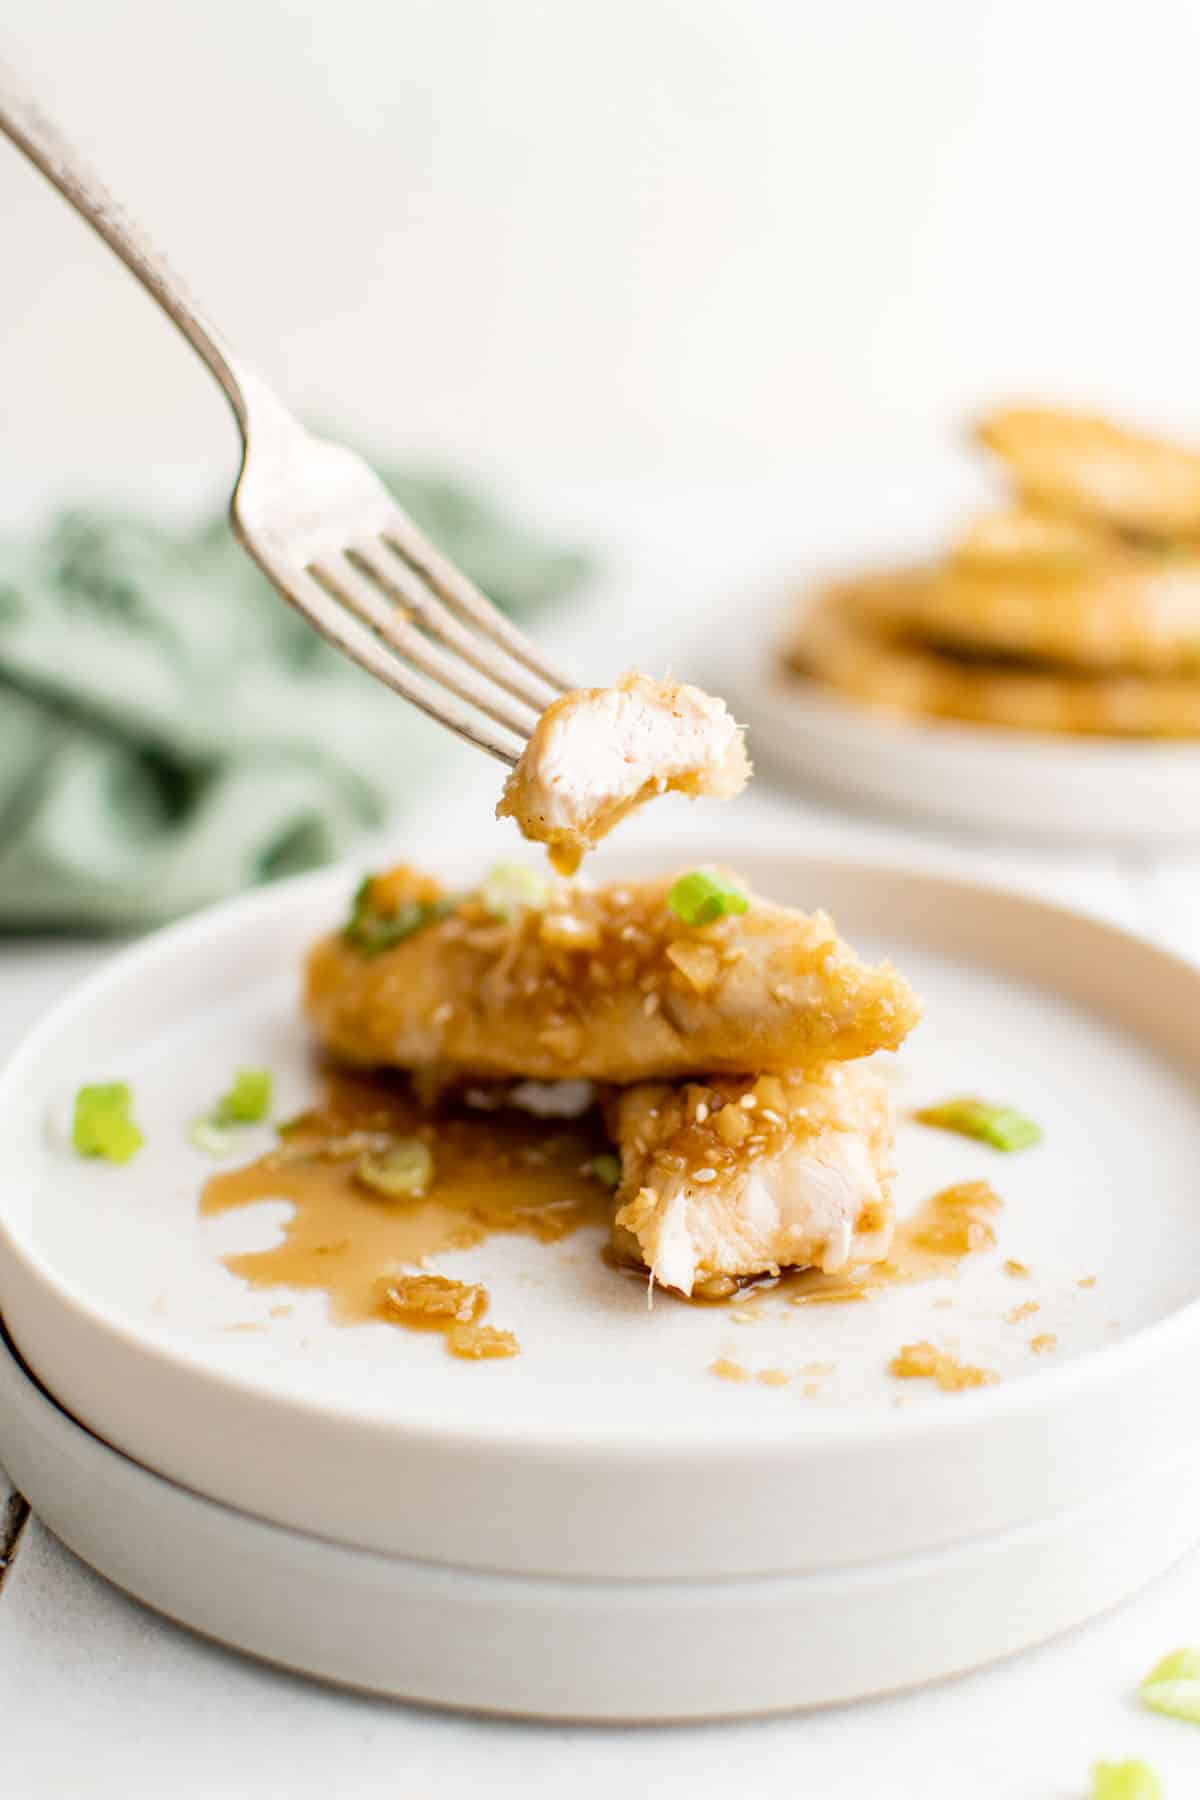
Chicken tenders are a family favorite and kids love them, but what are they?
Chicken tenders are known by many different names, including chicken strips, tenderloins, tenders, tendies, goujons, chicken fingers, and chicken fillets.
Head on over to the what are chicken tenderloins post to to find out what the are, how to cut them yourself, and budget friendly tips and tricks.
Why Make This Recipe
- Pantry-Friendly – Keep chicken in the freezer and the other ingredients in the pantry, so you have them on hand any time you need a quick meal.
- Fast – Just a few minutes of prep and about 15 minutes of cooking and dinner is on the table.
- Budget-Friendly – Chicken is one of the most affordable proteins available.
- Family-Friendly – Everyone loves chicken fingers!
Ingredient Notes
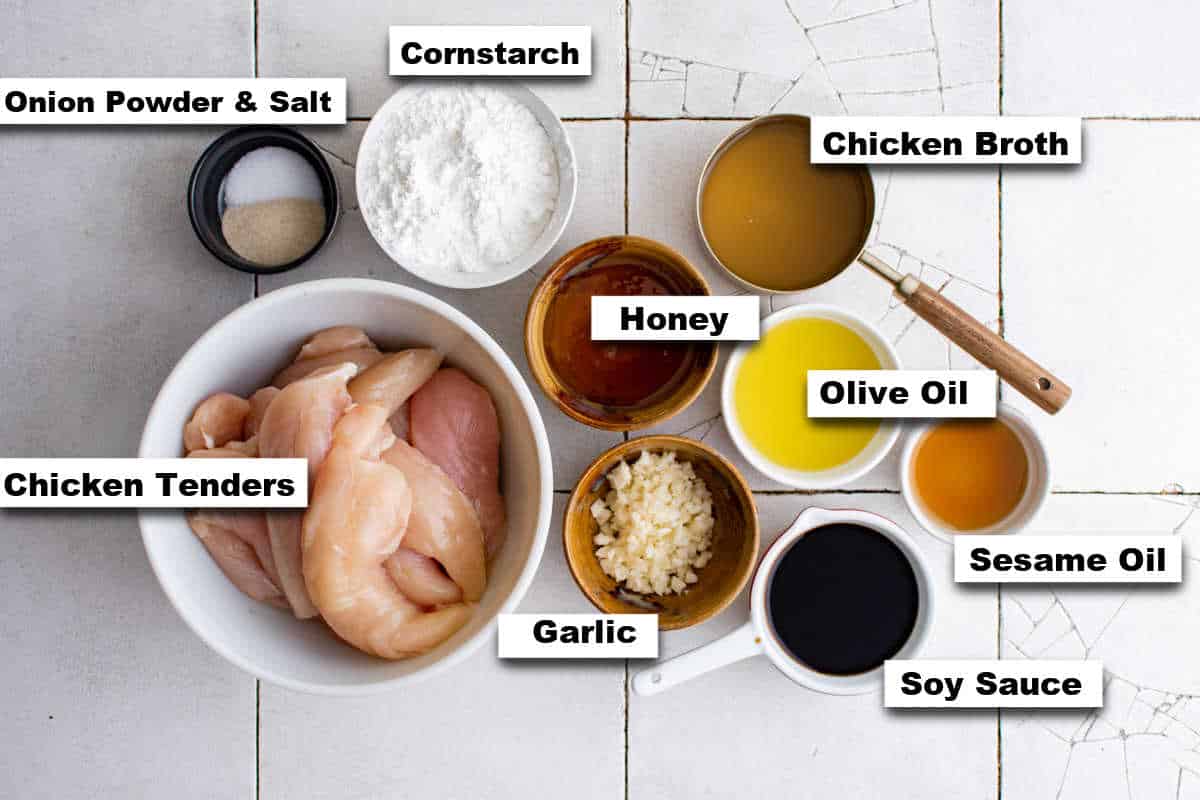
- Chicken – Purchase chicken tenderloins or cut chicken breast into tenders by using our handy how-to guide below.
- Coating – Use cornstarch, onion powder and salt to create a coating for the chicken. You can use flour in place of cornstarch if gluten isn’t a concern.
- Oil – Cook the chicken strips in a combination of olive oil and sesame oil. The sesame oil gives the chicken a classic Asian flavor. You can use any light oil.
- Garlic – Fresh minced garlic is going to add tons of flavor to the chicken.
- Chicken Broth – Broth will help you to deglaze the pan and will add flavor to the sauce. You can also use vegetable broth or even water in a pinch.
- Honey – Honey adds sweetness and helps to thicken the sauce. Use local honey when you can.
- Soy Sauce – Give these chicken tenders an Asian flavor by adding soy sauce. You can substitute a gluten free soy sauce or liquid aminos to make this dish gluten free.
How To Make Chicken Tenders
Get full ingredients list and instructions from the recipe card below.
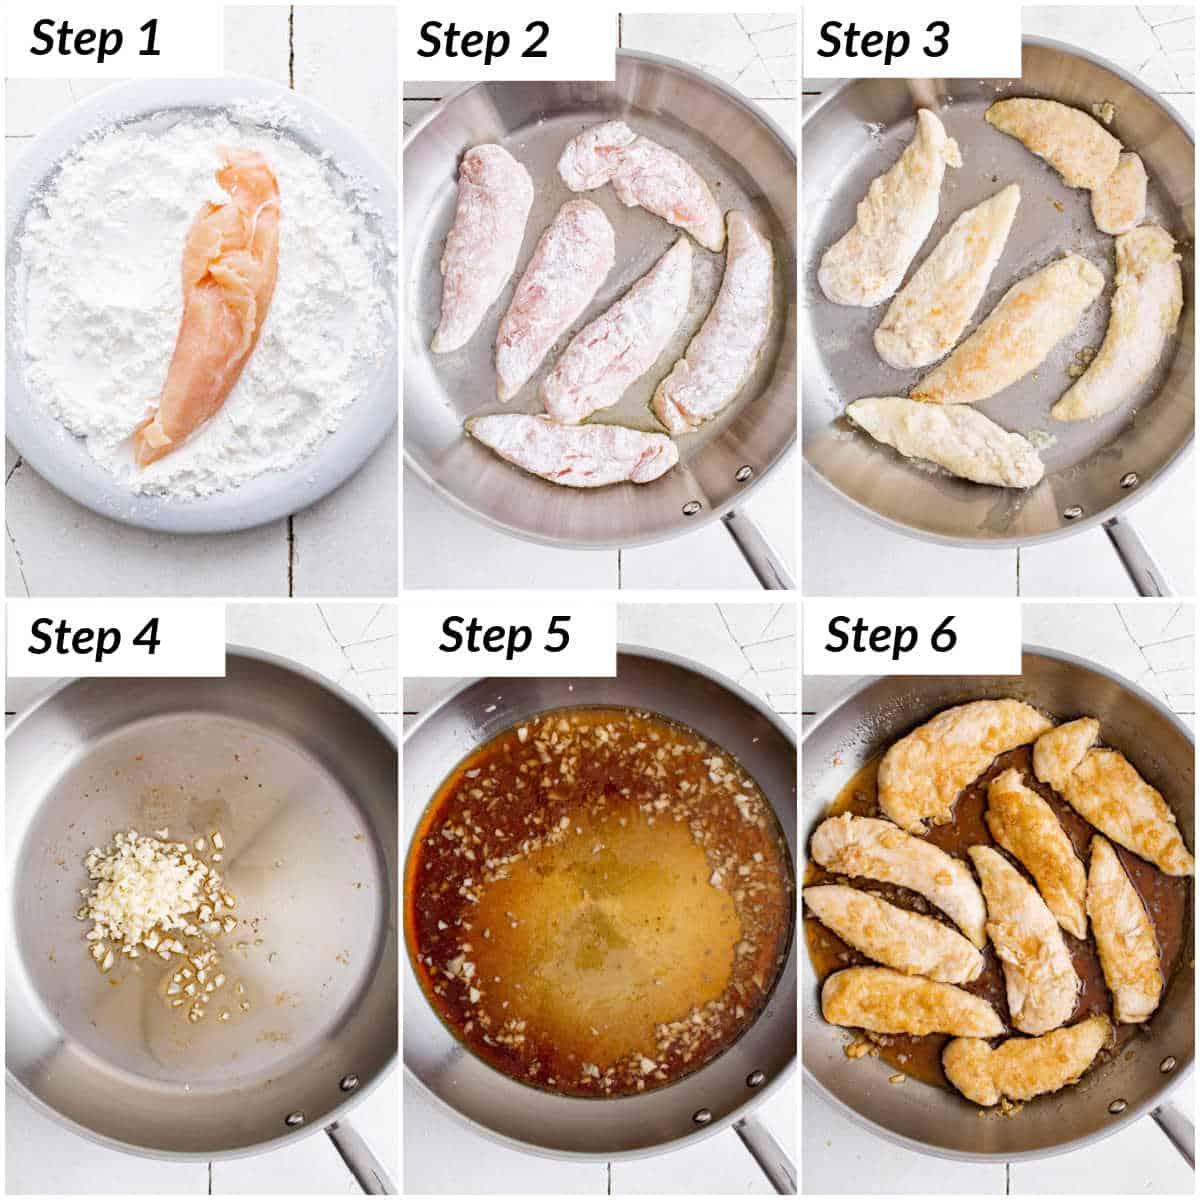
- Combine cornstarch, onion powder and salt in a shallow bowl and coat the chicken tenders before shaking off any excess.
- Heat the olive oil in a large skillet over medium heat and cook the chicken tenders in two batches for about 6 to 8 minutes, turning halfway through. Check for doneness with a meat thermometer, remove from pan and set aside.
- In the same pan, add the sesame oil and cook the garlic until it becomes fragrant for about 30 seconds.
- Add the chicken broth, honey and soy sauce and stir and cook for about 8 minutes or until the sauce thickens.
- Add the chicken back to the pan and flip it over in the sauce to ensure that it all gets coated.
- Serve with freshly chopped green onions and sesame seeds for garnish if desired.
Note: Always check for doneness with a meat thermometer. The internal temperature should be 165F / 74C when inserted into the thickest part of chicken breasts.
How To Cut Chicken Tenders
- If you prefer to use chicken breast rather than buy packaged chicken tenders, you can cut the breasts into strips.
- Look for boneless, skinless chicken breast and trim off any excess fat.
- Use a sharp knife to slice against the grain and cut the breast into strips of equal length and thickness.
How To Make Chicken Tenders In The Air Fryer
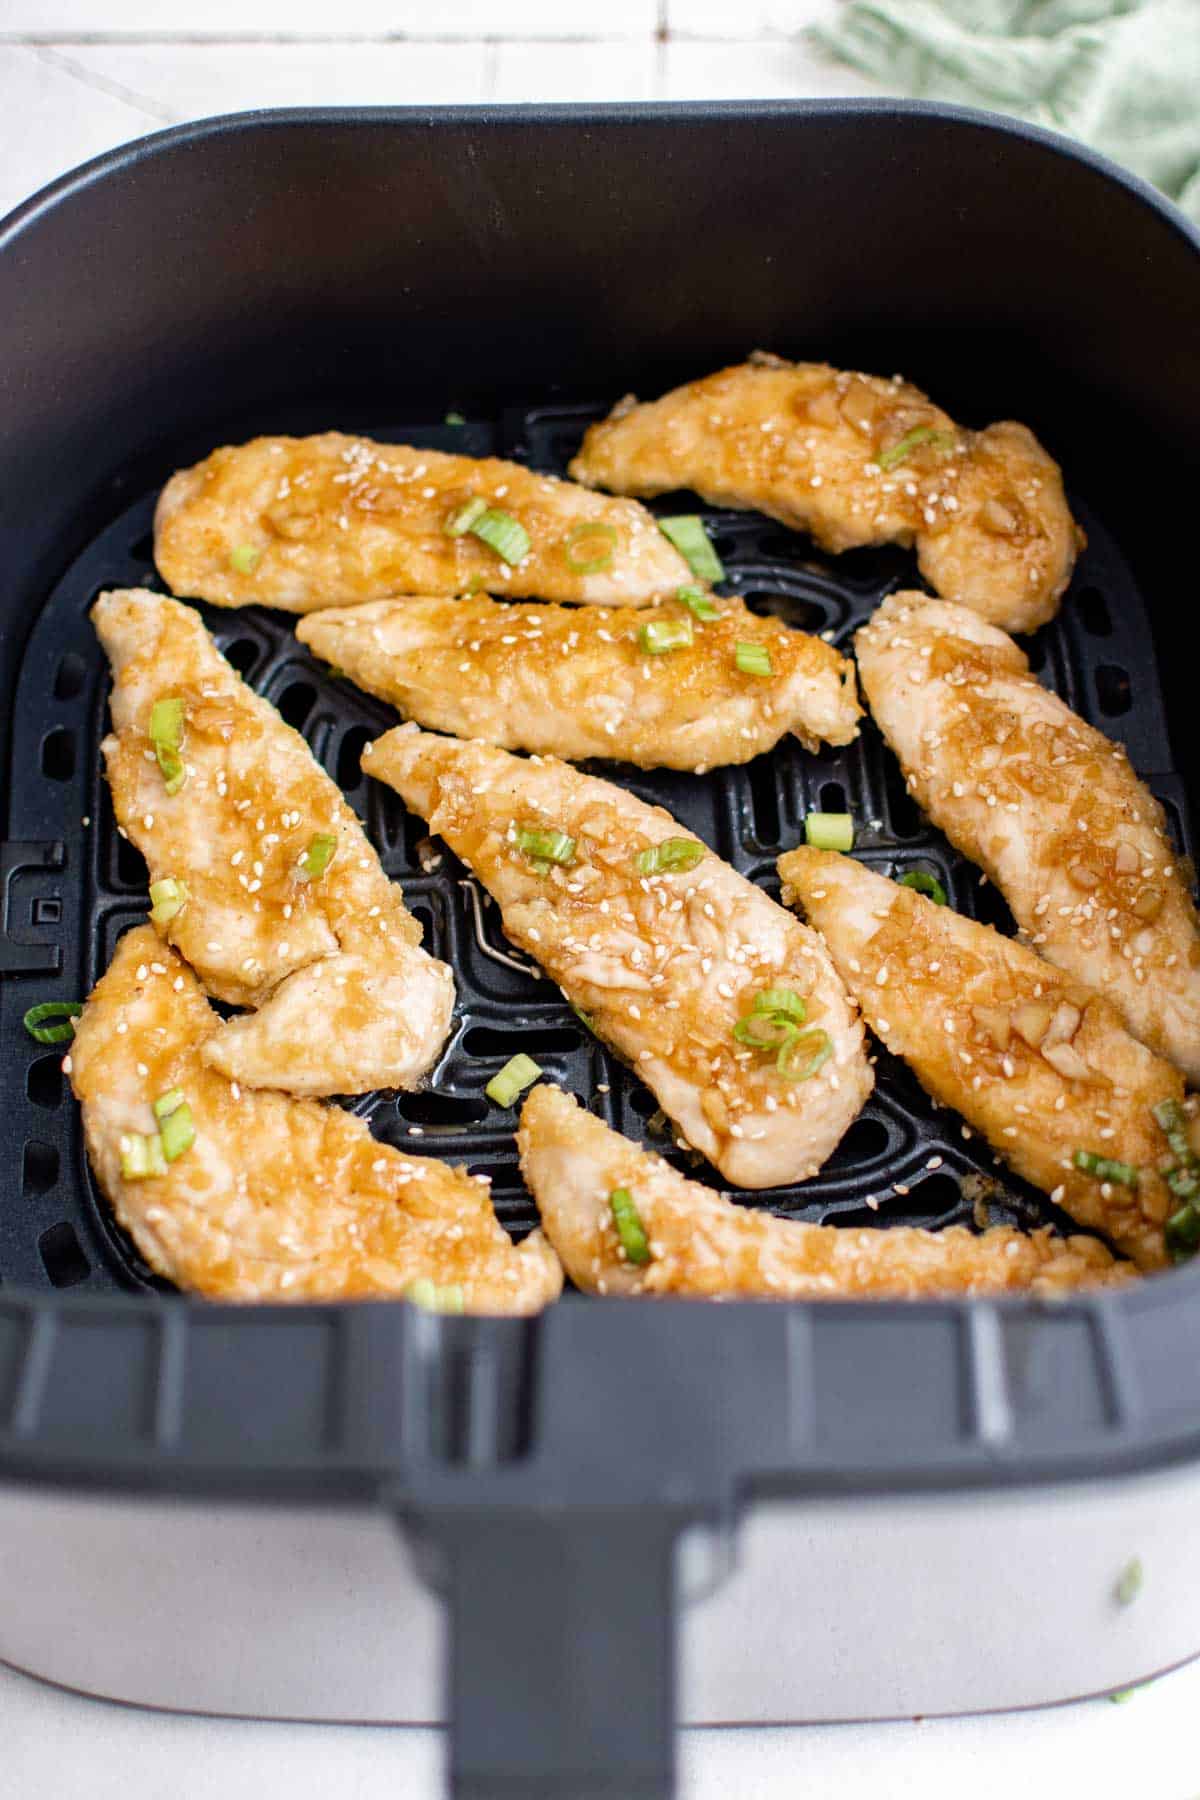
- Preheat the air fryer to 350F / 180C.
- Combine cornstarch, onion powder and salt in a shallow bowl and coat the chicken tenders before shaking off any excess.
- Using a neutral oil, lightly spray the basket.
- Arrange chicken in the tray being careful not to crowd the tray or overlap the chicken. Cook in batches, if needed.
- Cook chicken for 9-11 minutes, shaking basket halfway through.
- While the chicken cooks, prepare the sauce in a skillet.
- Remove the chicken from the air fryer and toss in the sauce before serving.
Note: Air fryer temperatures can vary depending on the make and model. Always check the internal temperature using a meat thermometer to ensure it has reached a safe temperature.
Tips For Success
- When cooking with chicken, use a dedicated cutting board and knife and wash immediately with hot soapy water.
- Press the chicken tenders into the coating to help it adhere.
- Shake off the excess coating.
- Be sure to turn the chicken strips halfway through cooking. They should easily release from the pan.
- Cook in batches so the chicken cooks evenly and the coating doesn’t become gummy.
- Tent the chicken with foil to help keep it warm while the sauce cooks. It will warm through when you add it back to the sauce.
Variations
- Make It Gluten Free – Traditional soy sauce contains wheat, but you can make this dish gluten-free by selecting a gluten free soy sauce or using liquid aminos.
- Add Heat – Add a bit of sriracha or a pinch of crushed red pepper to make the sauce a little spicy.
Budget-Friendly Tips
- Buy Chicken In Bulk – Purchase chicken in bulk or on sale and freeze it for later.
- Cook Extra – Make a double batch to use for meals throughout the week.
- Keep Ingredients On Hand – Having a well-stocked pantry can cut down on trips to the store, thus leading to fewer impulsive purchases.
Prep Ahead And Storage
- Prep Ahead – Pre-slice the chicken tenderloins before freezing them for easy prep later on.
- Store – Allow the chicken to cool and then place it into an airtight container for up to 3 days. Reheat at 300F / 150C until warmed through or reheat in the microwave.
- Freeze – To freeze, cook the chicken and freeze in an airtight container or zip-top bag. Once defrosted, prepare the sauce as directed and add the chicken, turning in the sauce until it is heated through.
Meal Prep
- Make a double batch of these chicken tenderloins so you can make easy lunches and snacks throughout the week.
- This recipe will last for 3 days, which means you can enjoy honey garlic chicken tenders for dinner and then for 3 more days.
FAQs
This chicken tenders recipe requires you to cook the chicken in the skillet for about 5-7 minutes total or 3-4 minutes on each side.
Use a meat thermometer to check that the chicken reaches 165F / 74C before removing it from the heat.
Tough chicken tenders are usually the result of overcooking. Use a meat thermometer every time you cook chicken for safety and to prevent the chicken from becoming rubbery.
This chicken tender recipe is pan-seared with minimal oil, so it’s a much healthier selection than deep-fried chicken strips. White meat chicken breast tenderloins are low in fat and contain high-quality protein.
More Recipes You May Like
- Asian Instant Pot Chicken Tenders.
- Buffalo Chicken Tenders.
- The crispiest Oven Baked Chicken Tenders.
- Juicy Grilled Chicken Tenders.
- Air Fryer Chicken Breast.
- Ranch Chicken.
- Copycat Chipotle Chicken.
- How to Freeze Chicken.
Serving Suggestions
Weight Watchers Points
There are 7 Blue Plan SmartPoints in one serving of this.
Subscribe to my Newsletter and follow me on Facebook and Pinterest for more tasty recipes!
Get The Honey Garlic Chicken Tenders Recipe:
Honey Garlic Chicken Tenders
Equipment
Ingredients
- ½ cup (60g) cornstarch
- 1 teaspoon onion powder
- ½ teaspoon salt
- 2 pounds (907g) chicken tenders
- 2 tablespoons olive oil
- 1 teaspoon sesame oil
- 3 cloves garlic finely minced
- ½ cup (48ml) chicken broth
- ⅓ cup (113ml) honey
- ¼ cup (60ml) soy sauce
Instructions
Stovetop Method:
- Add the cornstarch, onion powder and salt to a shallow bowl or a plate and whisk to combine.
- Dip the chicken tenders in the cornstarch mixture and shake off any excess cornstarch and set aside.
- Heat the olive oil in a large skillet over medium heat and cook the chicken tenders in two batches for about 6 to 8 minutes, flipping halfway through.
- Check for doneness with a meat thermometer, remove the chicken from the pan and set aside for later.
- Add the sesame oil to the pan along with the garlic and cook just until the garlic becomes fragrant about 30 seconds.
- Add the chicken broth, honey and soy sauce and stir and cook for about 8 minutes or until the sauce thickens.
- Add the chicken back to the pan and flip it over in the sauce to ensure that it all gets coated.
- Serve with freshly chopped green onions and sesame seeds for garnish if desired.
Air Fryer Method:
- Preheat the air fryer to 350F / 180C. Combine cornstarch, onion powder and salt in a shallow bowl and coat the chicken tenders before shaking off any excess.
- Using a neutral oil, lightly spray the basket. Arrange chicken in the basket, being careful not to overcrowd or overlap. Cook in batches, if needed.
- Cook tenders for 9-11 minutes, shaking the basket halfway through.
- While chicken cooks, prepare the sauce in a skillet by adding sesame oil and the garlic, cooking until the garlic becomes fragrant, about 30 seconds. Then stir in chicken broth, honey and soy sauce and cook for about 8 minutes, or until the sauce thickens.
- Remove the chicken from the air fryer and toss in the sauce before serving.
Video
Notes
- When cooking with chicken, use a dedicated cutting board and knife and wash immediately with hot soapy water.
- Press the chicken tenders into the coating to help it adhere.
- Shake off the excess coating.
- Be sure to turn the chicken strips halfway through cooking. They should easily release from the pan.
- Cook in batches so the chicken cooks evenly and the coating doesn’t become gummy.
- Tent the chicken with foil to help keep it warm while the sauce cooks. It will warm through when you add it back to the sauce.
- Store – keep in an airtight container inside the fridge for up to 3 days
- There are 7 WW Blue Plan SmartPoints in one serving of this.




Leave a Reply